> ## Documentation Index
> Fetch the complete documentation index at: https://docs.adminest.com/llms.txt
> Use this file to discover all available pages before exploring further.
# Quick Start
> Get up and running with Adminest in 5 minutes
## Create Your Account
Go to [adminest.com](https://www.adminest.com) and click **Get Started**
Sign in with your email using our secure Auth0 authentication
Add your name and timezone for personalized reminders
## Send Your First Document
The easiest way to get documents into Adminest is via your personal document email address.
On the Dashboard you'll see **Your Secure Document Email** — click **Copy** to grab it
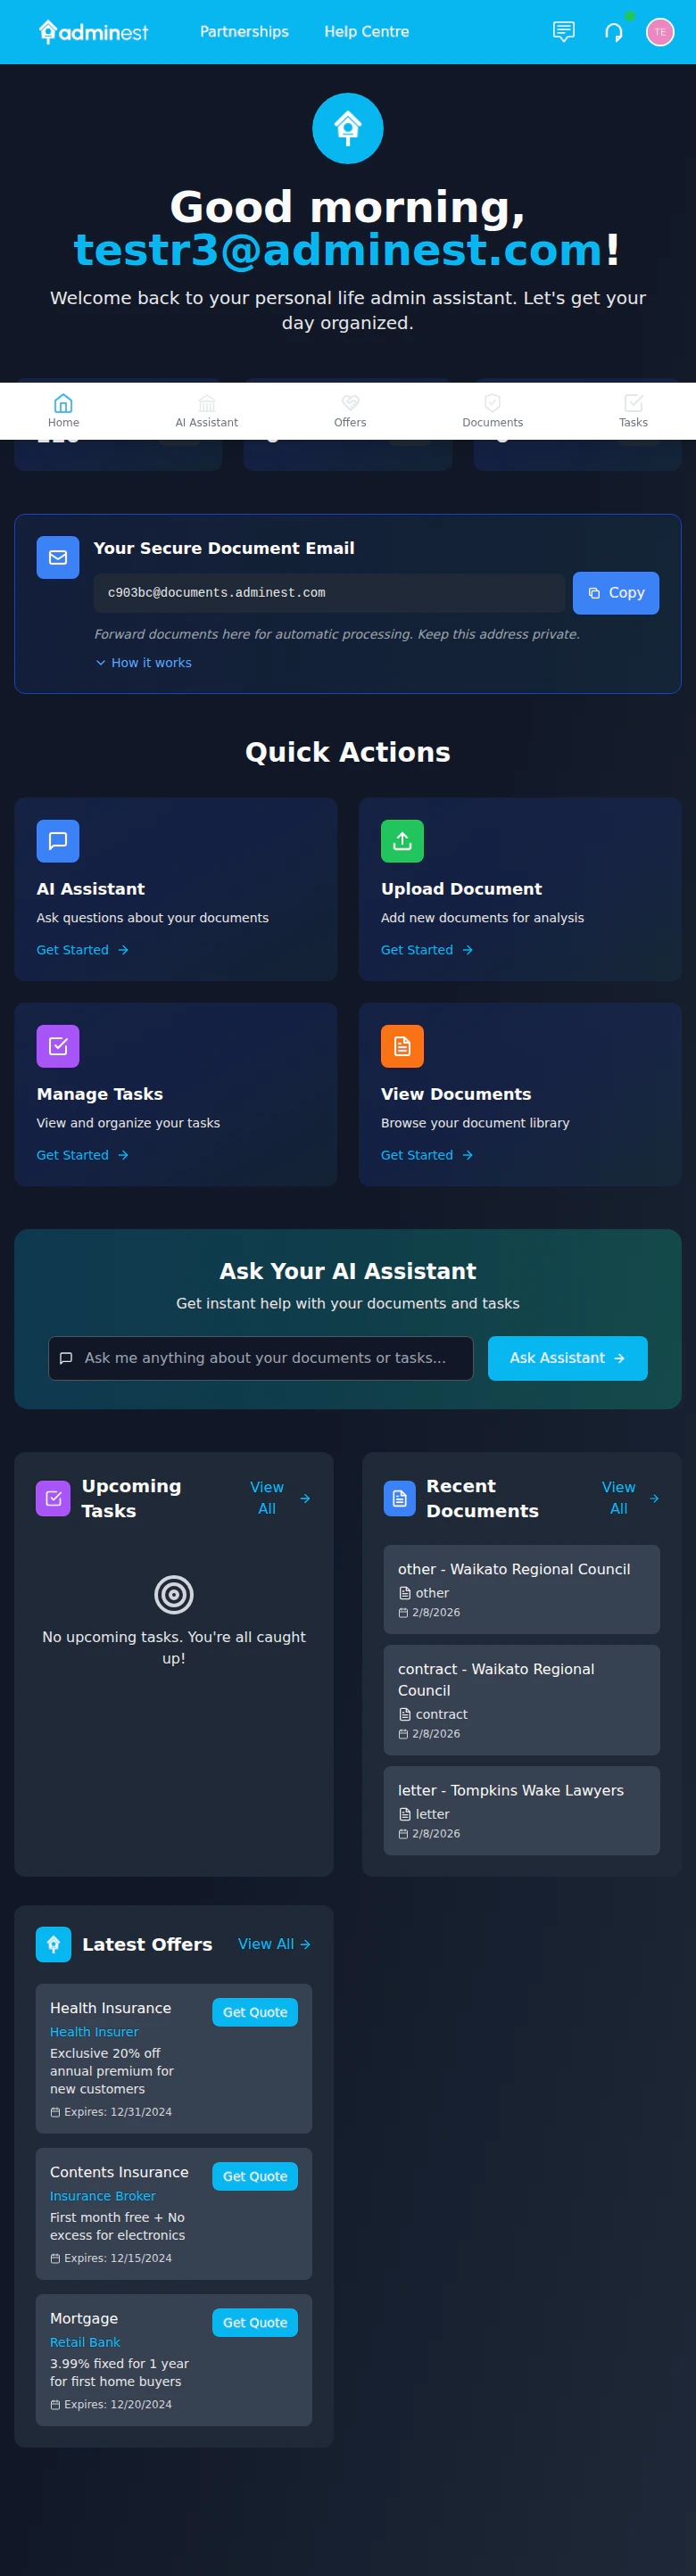 Forward a bill, receipt, or letter to that address (PDF attachments work best)
Documents are automatically scanned and categorised within about 30 seconds
Check the AI-extracted tasks — due dates and reminders are created for you
First time? Click **How it works** below your document email on the Dashboard for a step-by-step guide.
You can also upload documents directly:
Click **Documents** in the navigation sidebar
Drag and drop a PDF or image, or click **Upload** to browse
**Best documents to start with:**
* Insurance policies (home, car, health)
* Utility bills
* Subscription confirmations
* Warranty documents
## Enable Push Notifications (Optional)
Get notified on your phone or desktop when documents are processed:
Click the **bell icon** in the top navigation bar
Click **Enable Push Notifications** in the notification panel
When your browser asks, click **Allow** to receive notifications
Push notifications are opt-in. You won't be prompted automatically — enable them when you're ready.
## Connect Your Calendar (Optional)
Sync tasks to your calendar for reminders:
Click the **Settings** icon in the top right
Select **Calendar** from the settings menu
Choose Google Calendar or Microsoft Outlook and authorize access
## What's Next?
Learn about document types and AI extraction
Organize and track your tasks
Chat with your documents
Share with family members
Forward a bill, receipt, or letter to that address (PDF attachments work best)
Documents are automatically scanned and categorised within about 30 seconds
Check the AI-extracted tasks — due dates and reminders are created for you
First time? Click **How it works** below your document email on the Dashboard for a step-by-step guide.
You can also upload documents directly:
Click **Documents** in the navigation sidebar
Drag and drop a PDF or image, or click **Upload** to browse
**Best documents to start with:**
* Insurance policies (home, car, health)
* Utility bills
* Subscription confirmations
* Warranty documents
## Enable Push Notifications (Optional)
Get notified on your phone or desktop when documents are processed:
Click the **bell icon** in the top navigation bar
Click **Enable Push Notifications** in the notification panel
When your browser asks, click **Allow** to receive notifications
Push notifications are opt-in. You won't be prompted automatically — enable them when you're ready.
## Connect Your Calendar (Optional)
Sync tasks to your calendar for reminders:
Click the **Settings** icon in the top right
Select **Calendar** from the settings menu
Choose Google Calendar or Microsoft Outlook and authorize access
## What's Next?
Learn about document types and AI extraction
Organize and track your tasks
Chat with your documents
Share with family members